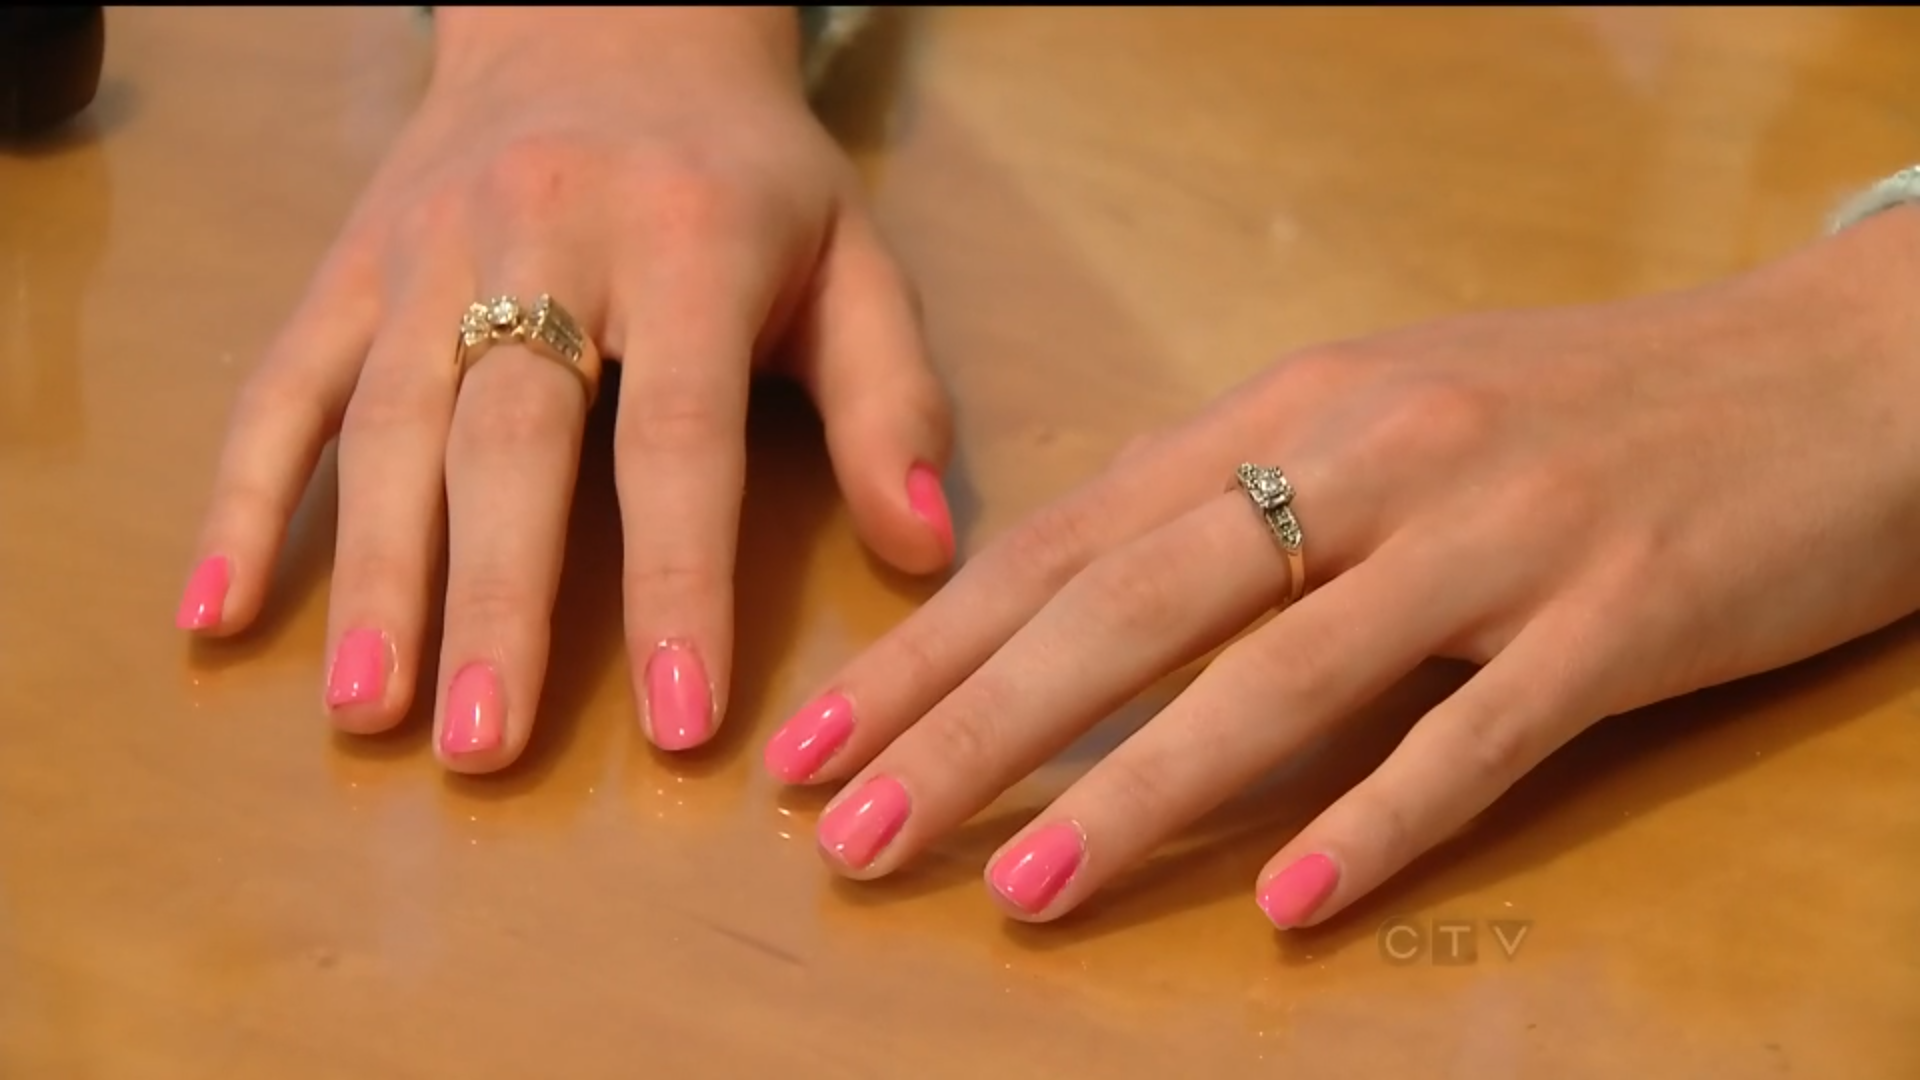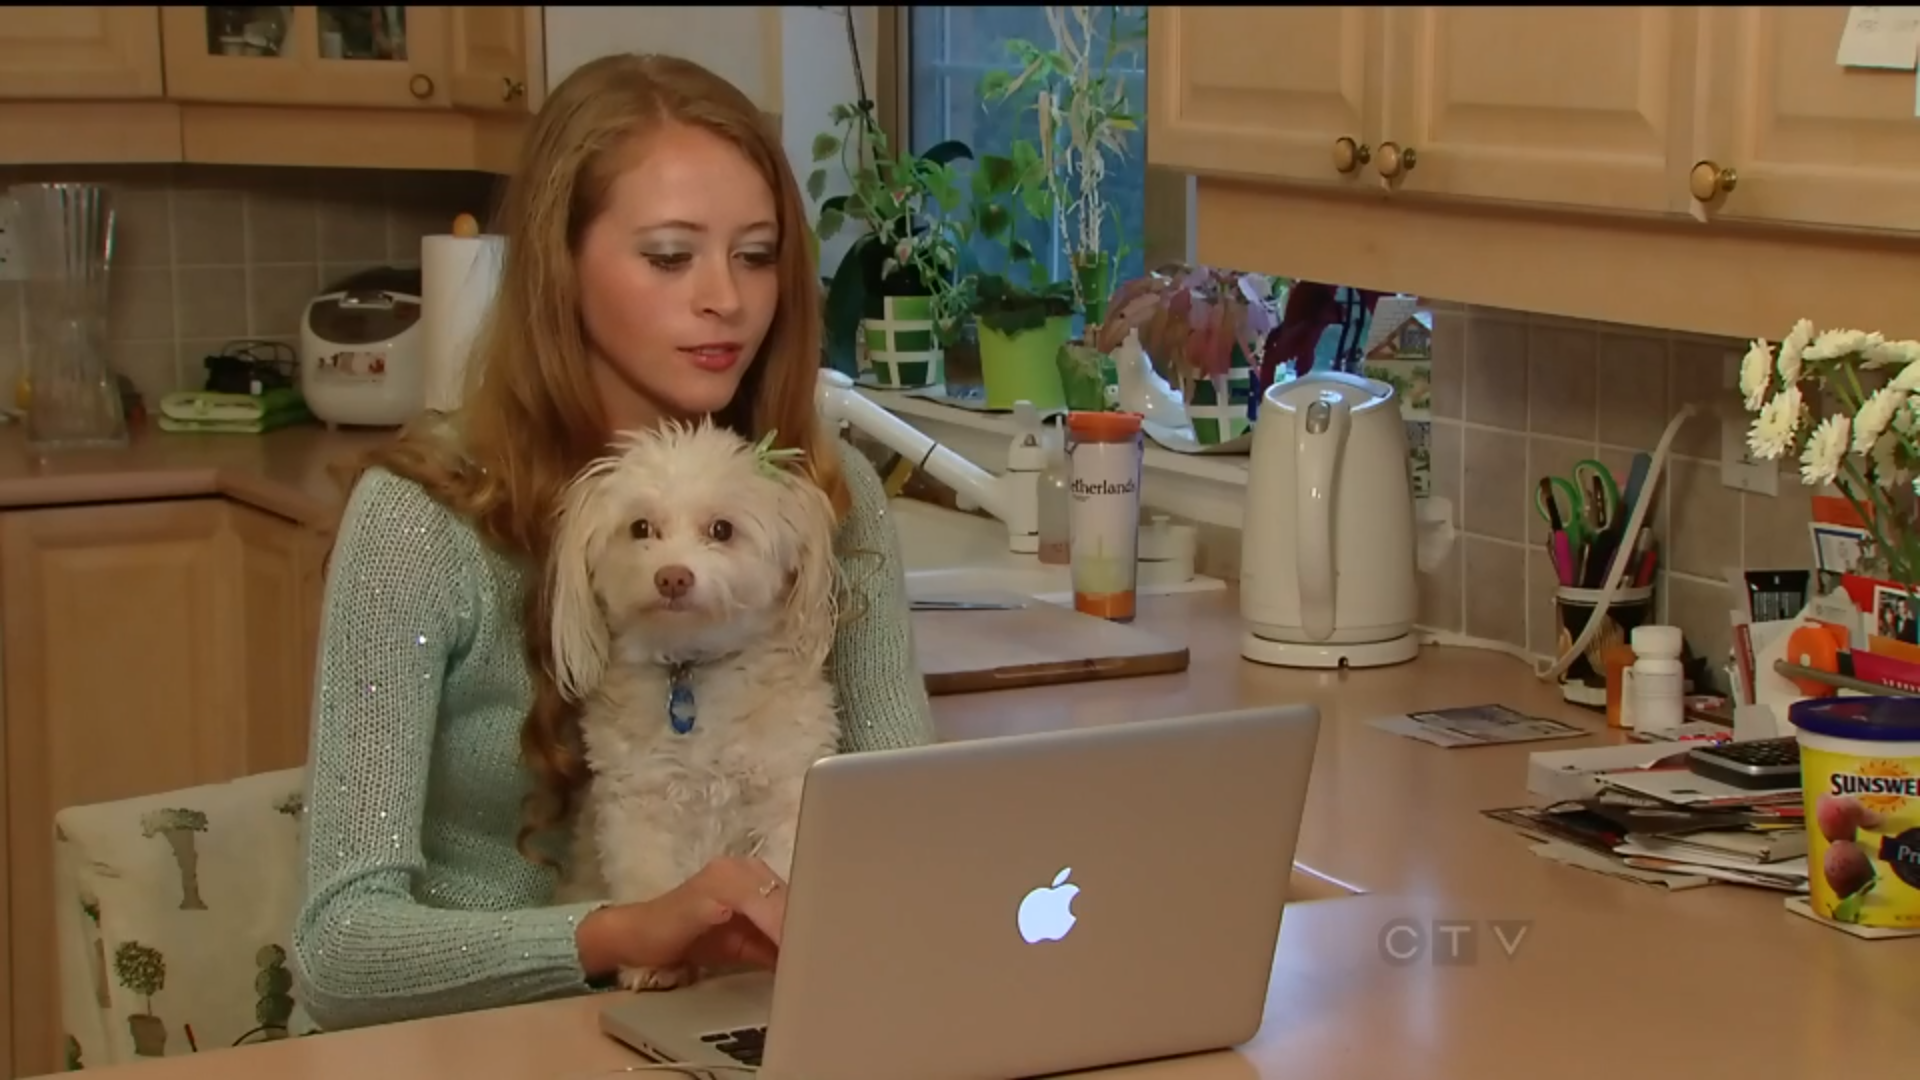
During the holiday season, we all get a little bit caught up with buying gifts, packing for getaways or attending one holiday party after the next. While it’s great to pamper yourself and relax, mani-pedis can be cost-sapping this time of year. At-home gel nail kits promise to solve two problems… save time by doing a manicure at home and more importantly, save money by investing in a kit that eliminates having to pay $30+ per gel or shellac manicure. I tested out a kit created by Quo by ORLY, available at Shoppers Drug Mart, and was interviewed about my experience. Check out my interview in reporter Pat Foran’s Consumer Alert segment at the link below (the title is “CTV Toronto: A cheaper gel manicure?”), or read on to see my thoughts on the new beauty kit.
http://toronto.ctvnews.ca/more/consumer-alert Segment found on page 2 of results.
Here is my review of the Quo by ORLY Gels kit.
First impressions:
The Quo by Orly Gels Starter kit costs $40 and comes with almost everything you need to start your manicure:
Cleanser (50 mL) to clean nails prior to Quo by ORLY Gels application
Primer (4.4 mL) to prime nails for Quo by ORLY Gels application
Base + Top (4.4 mL) to insure a long-lasting, chip-free Quo by Gels manicure
Remover (50 mL) to remove Quo by ORLY Gels Nail Colour
Pocket Removers (20 pk) to convenient, on-the-go Quo by ORLY Gels Nail Colour removal Pusher & Remover to aid in the removal of Quo by ORLY Gels Nail Colour
Mini Nail File shape nails prior to Quo by ORLY Gels application
Lint Free Nail Wipes (20 pk) to add shine to your manicure
While the kit has most of the tools, you need to purchase the key ingredient, the LED lamp, $80 separately.
As for colours, those must be bought separately as well. They ring in at $10 a piece (but often have Shoppers Optimum bonus points) and come in over 10 shades. I tested out It Girl (a vibrant, sparkly hot pink) and So Kissable (a soft nude pink).
The Process:
The process of putting on the gel nail polish is fairly simple, and relatively quick. It took about 15 minutes, from prep to the final pass under the UV light. As I described in the video, it took a little while to get used to the heat of the LED UV lamp – it’s actually quite pleasant, but it surprised me at first. I loved using the lamps so much, I’ve implemented the Quo by Orly lamp on plain nail polish manis when I’m doing nail art or in a rush. It almost instantly cures regular formula nail polish as well, and for $80, it’s a compact and powerful lamp. Here are the instructions for applying the gel polish:
- Prep: Use ORLY Pusher/Remover to push back cuticle. Use ORLY Buffer to lightly buff the top layer of the nail. Apply a small amount of Quo by ORLY Gel Cleanser onto Quo by ORLY Lint Free Wipe and thoroughly clean the nail surface.
- Apply Primer: Lightly prime only the nail tips with Quo by ORLY Primer, avoiding cuticle and skin area. Let air dry for 30 seconds.
- Apply Base Layer & Cure: Brush thin, even layer of Quo by ORLY Base+Top onto nail, avoiding cuticle and skin area. Align nail in lamp and start automatic timer, remove your hand once the lamp chirps at the 30 second mark. Cure four fingers first, then thumbs separately.
- Apply 1st Colour Coat & Cure: Shake, roll and stir bottle of Quo by ORLY gel colour before applying. Brush thin, even layer of Quo by ORLY gel colour onto nail, avoiding cuticle and skin areas. Align nail in lamp and start automatic timer. When curing light or sheer shades, remove your hand once the lamp chirps at the 30 second mark. For darker shades, cure nails for the entire minute until the lamp shuts off. Cure four fingers first, then thumbs separately.
- Apply 2nd Coat of Colour & Cure: Brush second thin, even layer of Quo by ORLY Gel colour onto nail, avoiding cuticle and skin areas. Note, certain shades may require 3 coats. Align nails in lamp and start automatic timer. When curing light or sheer shades, remove your hand once the lamp chirps at the 30 second mark. For darker shades, cure nails for the entire minute nil the lamp shuts off. Cure four fingers first, then thumbs separately.
- Apply Top Layer & Cure: Brush thin even layer of Quo by ORLY Base+Top onto nail, avoiding cuticle and skin area. Align nails in lamp and start automatic timer. When curing light or sheer shades, remove your hands once the lamp chirps at the 30 second mark. For darker shades, cure nails for the entire minute until the lamp shuts off. Cure four fingers first, then thumbs separately.
- Shine: Apply small amount of Quo by ORLY Gel Cleanser onto Lint Free Wipe and swipe over nail. This will remove the tacky layer and leave your nails super shiny.
Results:
Time elapsed: 16 days.
As you can see from the photos, only my middle finger was a casualty. I couldn’t take pictures of my right hand, but only my index finger was a casualty there. It’s safe to say that both nails were chipped as a result of everyday wear and tear.
Here’s an instagram photo of my nails, six days in. Not bad, though my gel application technique has improved a lot since!
I’ve tested out the kit three times before, as well as my sister and best friend. While the kit promises results that last up to three weeks, I think that might be a stretch, but you can definitely make it to two weeks… making it the perfect solution for making it through Christmas party season or a vacation without having to lug acetone in your makeup bag!
The most important key to making the manicure last is to use the primer and make sure to keep the gel on your nail and not your cuticle, this will prevent the gel from peeling right off.
Removal:
I found it pretty easy to remove. While I know you’re not supposed to peel them off, after almost three weeks, a simple file made the nails practically peel off my nail bed. To remove them conventionally is easy too. You need to file the surface down a bit, dab on the remover and let the nails sit in the provided nail remover pockets for ten minutes. After the time has elapsed, use the scraper tool provided to scrape off the remaining gel. You can also use a cotton pad soaked in acetone and wrap it around your nail bed, however this might be a concern for your cuticles!
Tips:
- The first time around, I tried It Girl and loved the bright colour, but found I got tired of such a bright shade after wearing it for 14 days… so the second and third time around, I layered the two colours to create a softer pink.
- One of the main concerns about gel nails is the UV light. While I’m not too worried about exposure, Foran offered a tip at the end of the segment to apply sunscreen to your hands before starting the process.
- I find that I need to add three layers of the colour, and curing the gel for a full minute helps the process too.
- The most important thing to make sure the manicure turns out is to be careful not to get the gel onto your cuticles! It will cure to your skin and will eventually peel off easier… as well as feel waxy and awkward on your cuticle.
- If your mani is looking dull a week in, use the cleanser for a shiny boost.
Rating:
Overall rating – 4 out of 5 – based literally on how many nails made it to the 14-day benchmark. I think it depends on how active you are, I’ve tested it a couple more times, and found that any hard impact or opening plastic packaging will kill your manicure, but I’d love to find a salon mani that could stand up to that test too! The kit was simple and fun to use, and would be a great gift or item to bring to a grown-up sleep over, or for something to do with all the girls before you go out on New Year’s Eve. As for the price, it’s an investment at first, but pays off quickly, once you average out how many $30 salon manis you can do in your own bathroom.
As for the segment, I was excited to be on the 6 o’clock news, even Rosie made some airtime too!
Screenshots via toronto.ctvnews.ca.
The gel nail kit is available at Shoppers Drug Mart stores.


Just bought the complete kit yesterday, your review helped a lot!! I’m about to do my first mani…wish me luck!
Author
hope your mani turned out fab! send me pics or mention @natalieast on instagram or twitter so i can see the results!
I am doing my nails at home using Gelish. I noticed that your gel application goes over to your cuticles and your skin. These will cause lifting and peeling of the gel. I think that’s why yours didn’t last you for 3 weeks.
Author
yes… that is true. with practice, i’ve gotten a lot better, and now they last up to two weeks… they could last longer, but my nails grow too fast, exposing my nail bed at the base.
I lovvveee your nail art!
I’m so peed off as I bought the Gel Quo polish remover and it doesn’t work at all. I would never have gel nail polish again as it’s taken me 5 months and still not off. That’s when I decided to buy the remover what a farce that is and wasted my money.
Author
oh no! im sorry to hear. it’s a good idea to use a nail file to scratch the surface of the gel so that the product can work in. i would also check expiration dates and see whether the product was beyond it’s date, if so i would take it back to your store. you can try to carefully peel your gel nails off, or find a local salon to do it for $5 ish if you’re really stuck! I would def try taking back the product or emailing Quo if you weren’t happy with the quality. 🙁